
Getting Started with Liquibase and Azure PostgreSQL
.png)
Introduction
In today's development landscape, managing database schemas with the same rigor as application code is essential. This is where combining a powerful, managed cloud database like Azure Database for PostgreSQL - Flexible Server with a best-in-class database schema management tool like Liquibase becomes a game-changer.
Azure's Flexible Server provides a robust, scalable, and secure platform for your PostgreSQL databases with plenty of options to balance power and cost. Liquibase Community allows you to version control, track, and deploy your database changes in a repeatable and automated way. Upgrading to Liquibase Secure will provide the necessary guardrails and security enhancements to build fully automated data pipelines that are always in compliance and able to safely support sensitive, mission critical workloads.
This guide will walk you through the entire process, from provisioning a new database in Azure to deploying your first schema change with Liquibase.
Part 1: Creating Your Azure PostgreSQL Flexible Server
First, let's set up our PostgreSQL database instance using the Azure Portal.
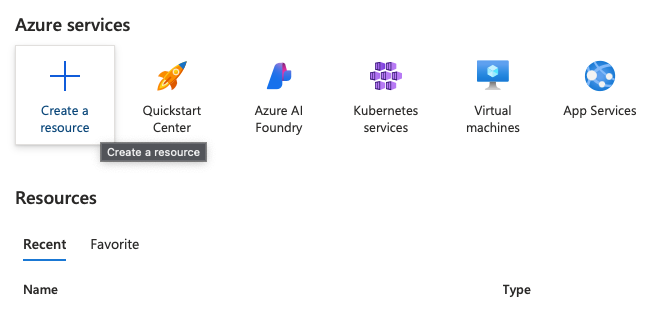
1. Create a Resource: Log into the Azure Portal and click the "Create a resource" button.
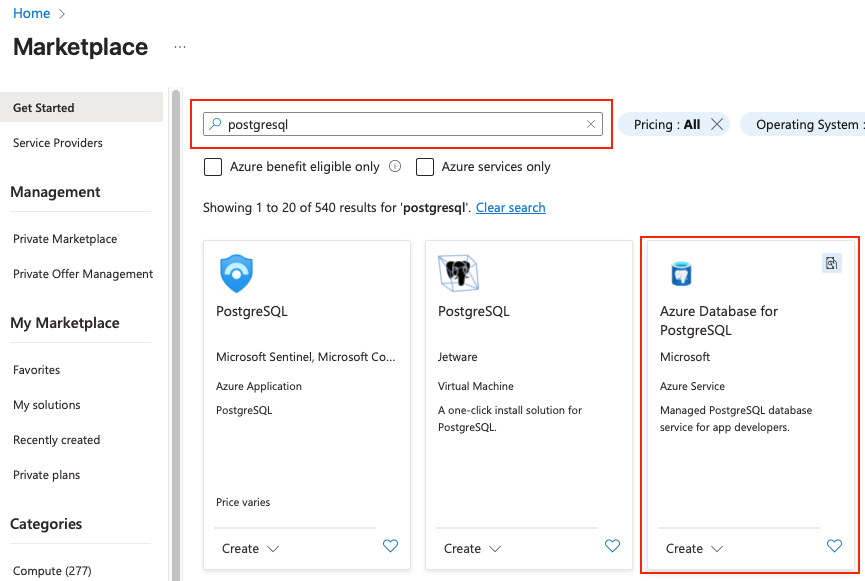
2. Select Azure Database for PostgreSQL: In the marketplace, search for "PostgreSQL" and select "Azure Database for PostgreSQL". Click Create.
3. Configure Your Server: Now, you'll fill out the configuration details for your new server.
- Resource Group: Organize your Azure resources by creating a new group or selecting an existing one.
- Server name: Choose a globally unique name for your database server.
- Region: Select the Azure region closest to your users or application.
- PostgreSQL version: Choose a recent, supported version (e.g., PostgreSQL 17).
- Workload type: For this tutorial, "Development" is a cost-effective choice. For production applications, you would choose "Production" to see options for high availability.
- Compute + storage: The default settings under "Development" are sufficient to get started. To lower the cost of the database click the “Configure server” link in this section and set the “Compute size” dropdown to a lower tier offering.
- Authentication: Create a strong admin username and password. NOTE: You will need these credentials later so take note of them.
4. Configure Networking:
- Click the "Next: Networking>" button.
- For "Connectivity method", select "Public access (allowed IP addresses)". This is the simplest way to connect for this guide. For production environments, you should use "Private access (VNet Integration)" for enhanced security.
- Under "Firewall rules", click "Add current client IP address". This creates a rule allowing your current machine to connect to the database.
5. Review and Create: Click the "Review + create" button to see a summary of your settings, and then click "Create" to deploy your server. This process may take a few minutes.
Once deployment is complete, navigate to your new resource. In the "Overview" panel, you will find the Server name (your server's public hostname), which you'll need for the next steps.
Part 2: Setting Up the Example DB
Empty databases are boring. I recommend that you use an export from an existing database to populate an example database to put Liquibase through its paces. If you don’t have an export from an existing database you can use one of the many freely available test databases on the web. I am partial to this one.
Step 1: Connect with psql and create the ‘example’ database

Step 2: Make sure you can connect to the new database

Step 3: Populate the ‘example’ database

The northwind.sql file I linked above will take a few minutes to fully execute. Once that’s done you can move on to the next step!
Part 3: Connecting Liquibase to Your New Database
With our cloud database running and populated, it's time to configure Liquibase to manage its schema.
The liquibase.properties File
Create a file named liquibase.properties in your project directory. This file tells Liquibase how to connect to your database.
Properties
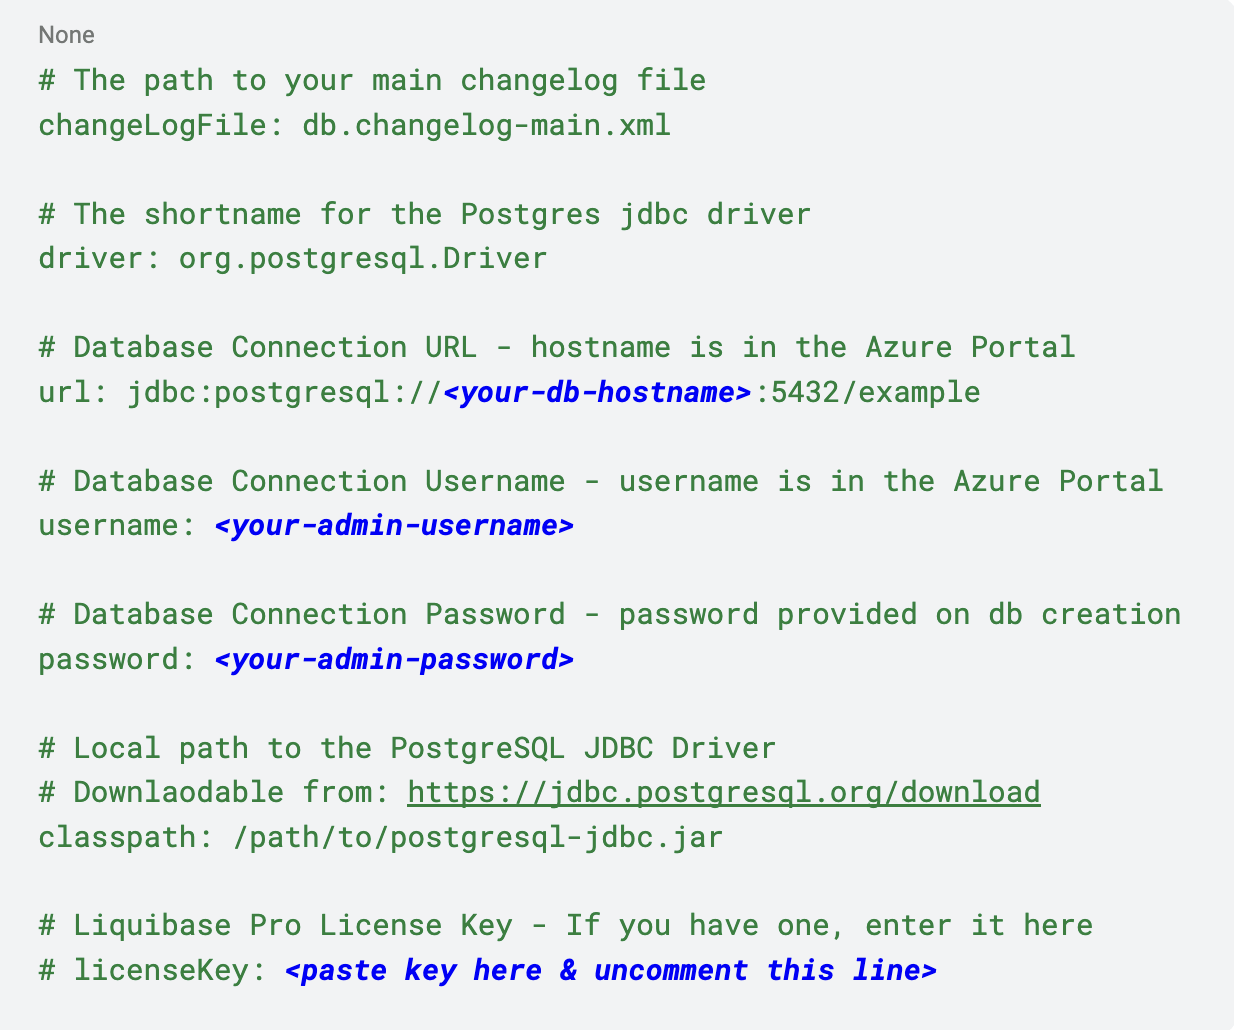
NOTE: If you are a Liquibase Secure user, you can add your license key information here, too.
✅ Security Best Practices: Avoid hardcoding credentials in plain text. A better approach is to use environment variables. Liquibase can resolve them automatically!
Secure Authentication with Azure Active Directory (AAD)
For production-grade security, you can configure Liquibase to authenticate using Azure Active Directory (AAD). This method avoids database passwords entirely, instead relying on managed identities or service principals. The official Liquibase documentation provides a detailed tutorial for connecting to Azure Database for PostgreSQL.
Part 4: The Liquibase Workflow in Action
Now we can use the core Liquibase commands to manage our database schema.
1. Generate a changelog from your example database: Run the following from your terminal in the same directory as your liquibase.properties file. This will verify the connection and create a starting changelog that is representative of your example database.

2. Initialize Liquibase for your database - The objects defined in the changelog from the previous step already exist in the database and don’t need to be redeployed. Run the following command to initialize Liquibase for your example database so that the baseline changesets in your changelog will not be executed during future updates.

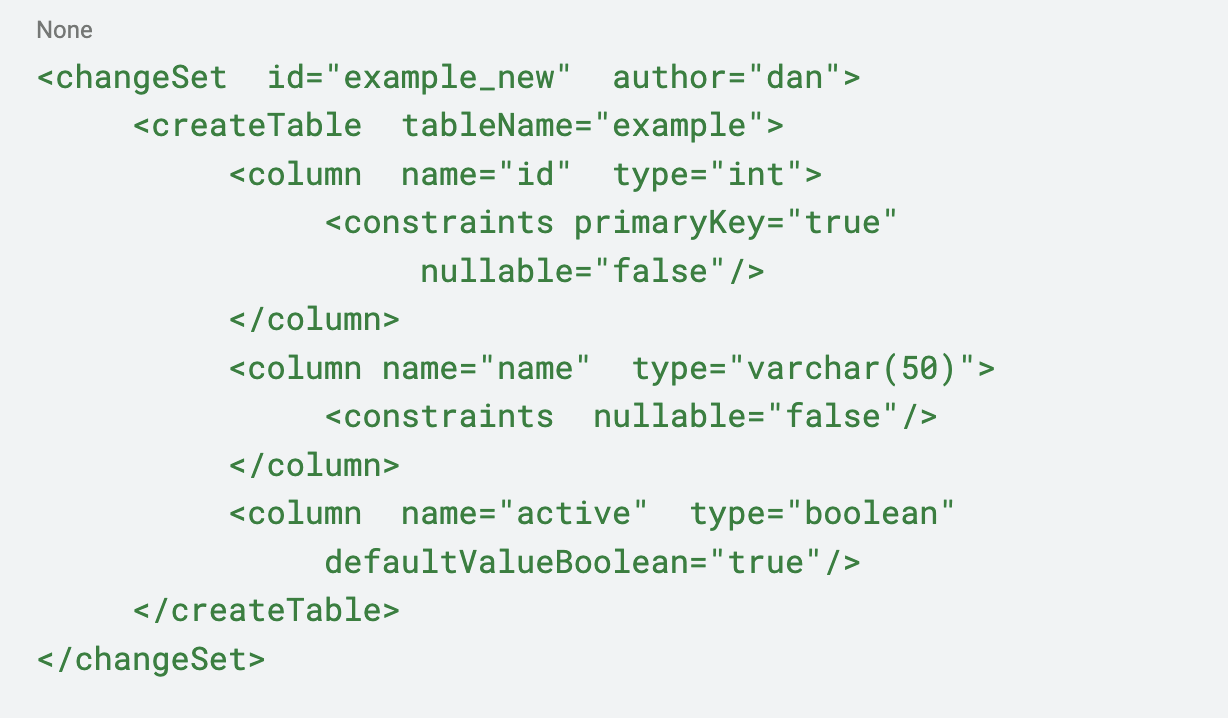
3. Create your first changeset: Add the block of xml below to your changelog file, db.changelog-main.xml. This will create a table named example when the next update is run. Don’t forget to save your changes!
4. Run the Update: To apply these changes to your Azure database, run the update command.

5. Liquibase connects to your Azure PostgreSQL server, applies the changeset, and tracks the deployment in a special databasechangelog table it creates.
6. Inspect the Database: Connect to your Azure database using psql or a GUI tool like DBeaver or Azure Data Studio. You will see that the new example table now exists, just as you defined it.
Conclusion
Congratulations! You have successfully provisioned a powerful cloud-native PostgreSQL database on Azure and deployed your first schema change using Liquibase. By adopting this workflow, you bring the same principles of version control and automation to your database that you use for your application code, establishing a solid foundation for your database DevOps practice.


